
Transporting chickens is necessary stress for many chicken keepers. It may be a case of getting new additions to the flock home after buying them or another factor like relocation. Since most chickens are likely to live between 5 and 10 years, moving them to another location is certainly something that many owners will need to undertake at some point.
However, transportation is actually one of the main causes of stress for chickens and can often lead to illness, injury, or even death in some cases. The endeavor could turn out to be particularly harrowing for the rather sensitive fowl if a car, with its obvious compromise of space, is the only available option.
It could also turn out to be a less-than-fun affair for the driver if the chickens are so stressed that they are flapping, squawking, and even randomly pooping throughout the journey.
As the chickens suddenly find themselves in an unfamiliar environment with more noise, movement, and possible sporadic light and temperature changes, they are now at risk of being stressed out in ways that could easily affect their egg-laying for a period – at least if the correct steps are not considered beforehand.
There are several key aspects involved in figuring out how to transport chickens to minimize their stress and avoid potential injury. Each of these pointers relates to the fine-tuning of the transportation environment – in this case, the car-to minimize any potential disruption of the birds’ wellbeing.
This is where preparation is the key — with a few necessary factors to consider, namely:
1. Decide on The Number of Chickens You Can Transport At a Time
If you are using your car to move the chickens, obviously, you will have to be realistic about how many birds is a reasonable and practical number. This depends to some extent on the size of the vehicle involved, but if anything smaller than a truck is being used, then the consensus points towards the fact that 5 or 6 birds would most likely be the maximum.
2. The Distance Involved Impacts Food and Water For the Chickens
Any trip that stretches past the one-hour mark will require more planning by way of timing, stops, and food & water to minimize the overall stress levels of the fowl on the back seat.
3. Plan Traveling Time So Weather Doesn’t Impact Chickens
Depending on the time of the year that you decide to transport your chickens, avoid either the hottest or coldest extremes of temperature. For instance, if you are into summer, you might consider making an earlier morning (or later evening) move. In the winter, traveling during the day, when it’s warmer outside, is better.
4. Plan Stops To Minimize Stress on Your Chickens
The weather can impact your chickens because of stifling summer heat and a potential lack of airflow. Stop every hour to increase the ventilation and give your birds a chance to rest from the constant movement of the vehicle. This can help if your birds are stressed.
5. Plan To Feed Chickens Food and Water during Transportation
Most backyard chickens require water every 2-4 hours. In hot temperatures, chickens should have more frequent access to water.
Food is not necessary on trips that are less than 4 hours unless you are transporting chicks. Chicks that are over 2 days old should be offered food every 2 hours. Newly hatched chicks don’t generally eat for the first 24 hours, so they are ok going greater time periods without food until they are two days old.
For longer distances or extreme weather, offer your chickens water-containing fruit or vegetables. This can include watermelon or cucumber. Your birds can nibble on them if they are thirsty, hungry, or bored.
If you are taking a longer trip, consider providing access to water through a nipple waterer. This will keep water from spilling and keep your chickens from dehydrating.
6. Plan for Noise and Route Issues
Plan a route that can minimize or avoid loud traffic, construction, and rough or unfinished road surfaces if possible. Driving should be as smooth and quiet as possible to minimize the chances of the poultry experiencing any undue stress.
Place the containers your chickens are being transported in onto surfaces that can absorb some of the sounds. You can do this by using rubber mats, towels, or blankets under your chicken cages.
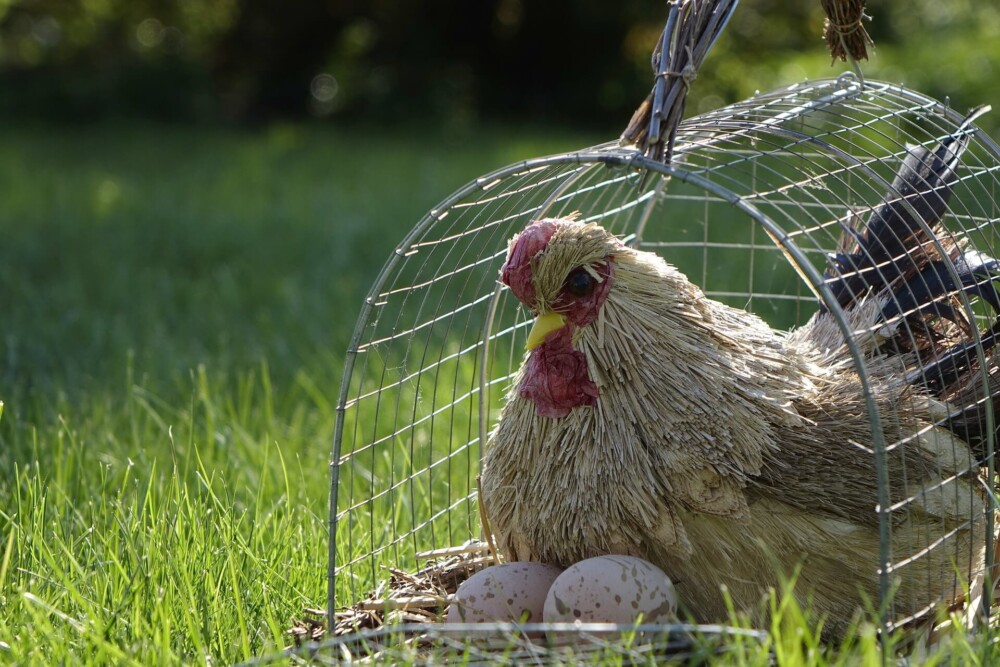
7. Choose Small Cages To Avoid Injuries While Traveling
Small containers are the best way to transport the chickens. This limits their movement throughout the trip. Chickens are also little likely to be stressed while in the company of other chickens.
Generally, chickens are less stressed near others. Use containers big enough to fit 2 or 3 birds. Place birds that are close to each other in the pecking order together. Place over aggressive birds alone in cages.
8. Keep Constant Airflow Around Cates
Maintain cool airflow, especially in warmer weather. But, don’t choose cages or boxes with air holes so big that part of the bird can protrude from it and result in an injury.
9. Use Darkness to Calm Chickens
Chickens will remain calmer if they are in a darker area. Even if you are using wire cages, you can help to calm chickens down by covering the cages with sheets or blankets. This gives the added benefit of shading the hens during the summer and adding extra warmth during the winter.
10. Drive Intentionally To Avoid Sudden Braking or Swerving
The more your chickens are thrown off balance or hit the sides of their cage, the more stressed and upset they will become. Drive intentionally and avoid streets and areas that require a stop-and-go style of driving. If you have to drive through an area known for crazier driving, try to avoid traffic by choosing an off-hours time to move your chickens.
Conclusion
While transporting chickens by car might not seem like the easiest thing in the world to undertake, with a little careful planning beforehand, it can be smooth and less stressful. When you are finished, you can re-settle your fowl into their new surroundings. Most hens will start laying eggs again within 24-48 hours.
My Favorite Chicken and Duck Supplies
This list contains affiliate products. Affiliate products do not cost more but helps to support BestFarmAnimals and our goal to provide farm animal owners with accurate and helpful information.
Manna Pro Oyster Shell keeps eggs strong. Before I gave my chickens oyster shell, I had the oddest eggs, many with weak and irregular shells. Now, I don’t have an issue.
Layer Feed by Manna Pro. I like pellets rather than crumbles as my chickens eat them better and less gets wasted or scavenged by rodents. A good layer feed makes the difference in hens laying many more eggs.
My chickens love this mealworm treat, which gives added protein, something that’s great during molting and winter months.
There are many ways to feed and water your chickens. I like this food and water setup the best because it reduces waste, saves me time feeding and watering, and keeps the food fresh longer. Except, in the winter, I use a heated waterer. The only problem is the heated waterers need to be replaced every few years.
I love this chicken veggie hanger. It makes it easy to give your chickens produce from the garden and keep them occupied in the winter with a fresh head of lettuce.
These chicken toys are a hoot! They will help curb bullying and keep your chickens active, especially in the winter when hens tend to get more lethargic.